Drawing a Dynamic Grid with Canvas and JavaScript
Learn how to create a dynamic grid of squares with interactive elements using HTML canvas and JavaScript. Explore customization options and unleash your creativity for engaging web graphics.
Imagine you want to create a visually engaging grid layout on your webpage. The canvas element, combined with JavaScript, allows you to achieve this and more. We’ll build a script that generates a 5x5 grid of squares, with the option of having smaller squares appear randomly within some of the larger ones.
Setting Up the Canvas
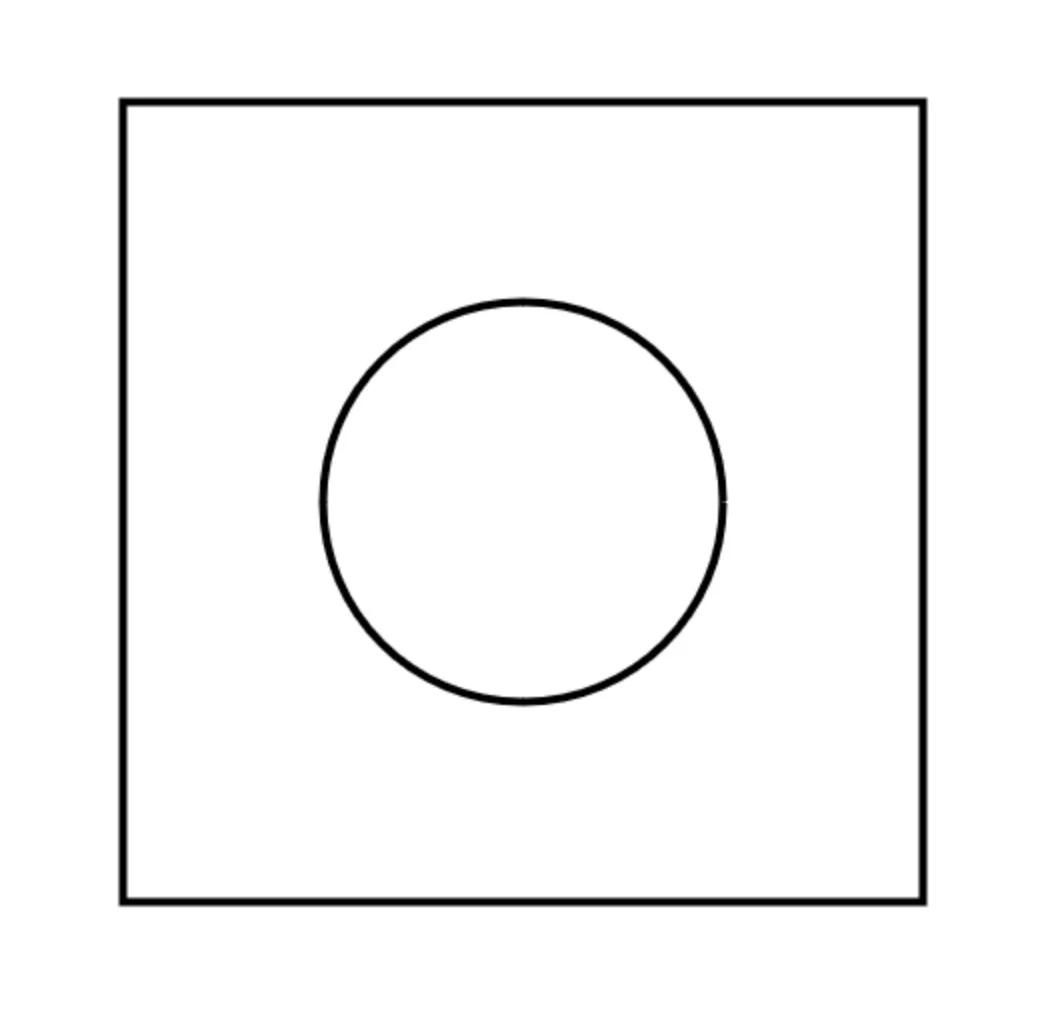
First, you’ll need an HTML canvas element in your document:
<canvas id="myCanvas" width="500" height="500"></canvas>This code creates a canvas element with an ID of “myCanvas” and sets its width and height to 500 pixels.
JavaScript and the Canvas API
Next, we’ll use JavaScript to interact with the canvas and draw our grid. Here’s the breakdown:
const canvas = document.getElementById('myCanvas');const context = canvas.getContext('2d');
// Define square dimensions and spacingconst width = 60;const height = 60;const gap = 20;
// Loop to draw the gridfor (let i = 0; i < 5; i++) {  for (let j = 0; j < 5; j++) {    // Calculate x and y coordinates for each square    let x = 100 + (width + gap) * i;    let y = 100 + (height + gap) * j;
    // Define and draw the square    context.beginPath();    context.rect(x, y, width, height);    context.stroke();
    // Random chance to draw a smaller square inside    if (Math.random() > 0.5) {      context.beginPath();      context.rect(x + 8, y + 8, width - 16, height - 16);      context.stroke();    }  }}
Explanation
- We grab a reference to the canvas element using document.getElementById.
- We get the 2D rendering context from the canvas using getContext(‘2d’). This context allows us to draw shapes and lines on the canvas.
- We define variables for the width, height, and spacing of the squares.
- Nested loops iterate through each position in the 5x5 grid.
- Inside the loops, we calculate the x and y coordinates for each square based on its position in the grid and the defined gap between squares.
context.beginPath()starts a new path for drawing the square.context.rect(x, y, width, height)defines the rectangle representing the square at the calculated position.context.stroke()draws the outline of the square based on the defined path.- The inner loop includes an if statement that uses Math.random(). This function generates a random number between 0 and 1. If the number is greater than 0.5, another square with a slightly smaller size and offset position is drawn inside the larger square.
Customizations
Play around with the code and experiment with different values for width, height, gap, and the logic for drawing the inner squares. You can also explore different colors and fill styles (using context.fillStyle) to create more visually appealing variations.
Conclusion
This post has introduced a basic example of using canvas and JavaScript to create a dynamic grid layout. With a bit of creativity, you can leverage this technique to generate various interactive graphics and enhance your web projects.
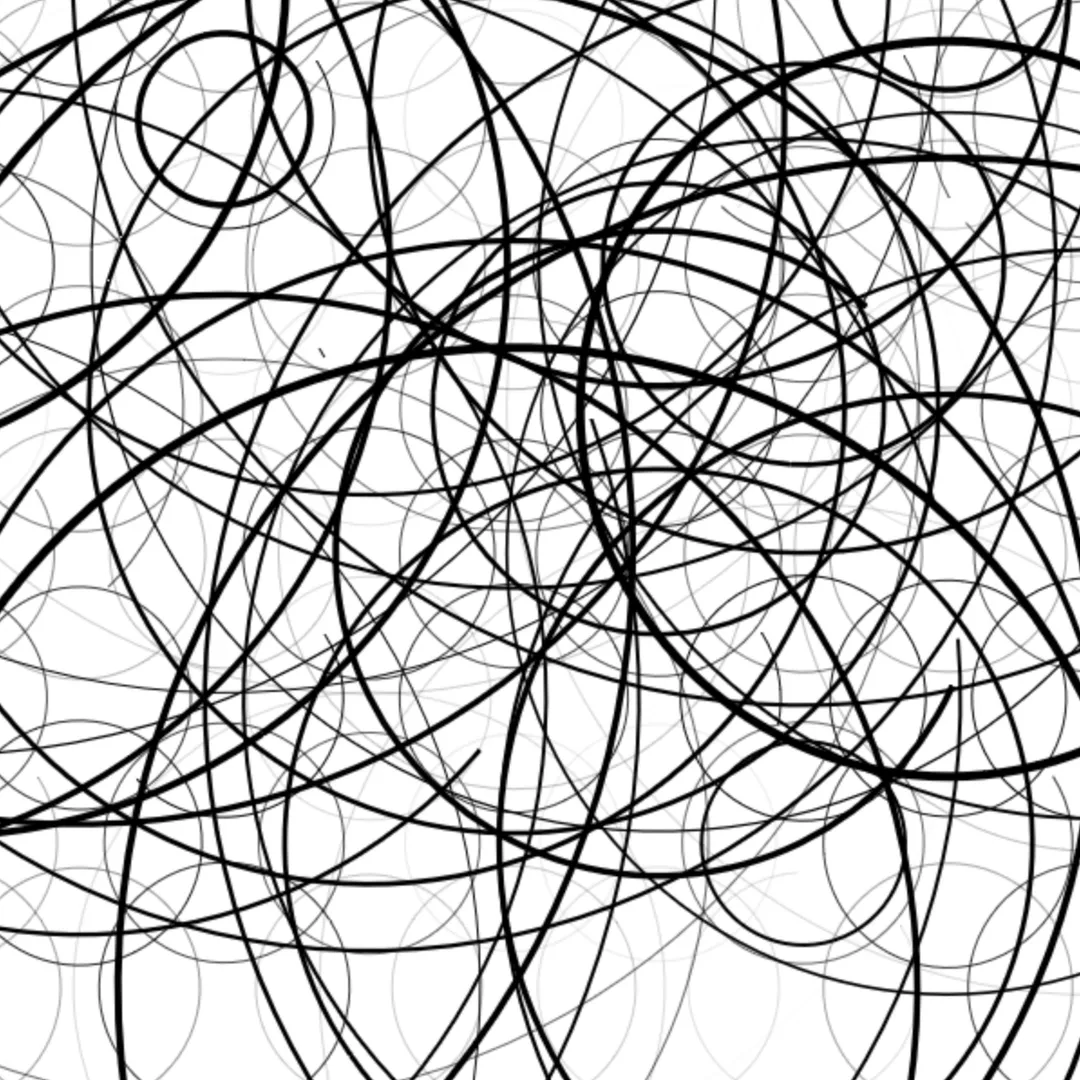
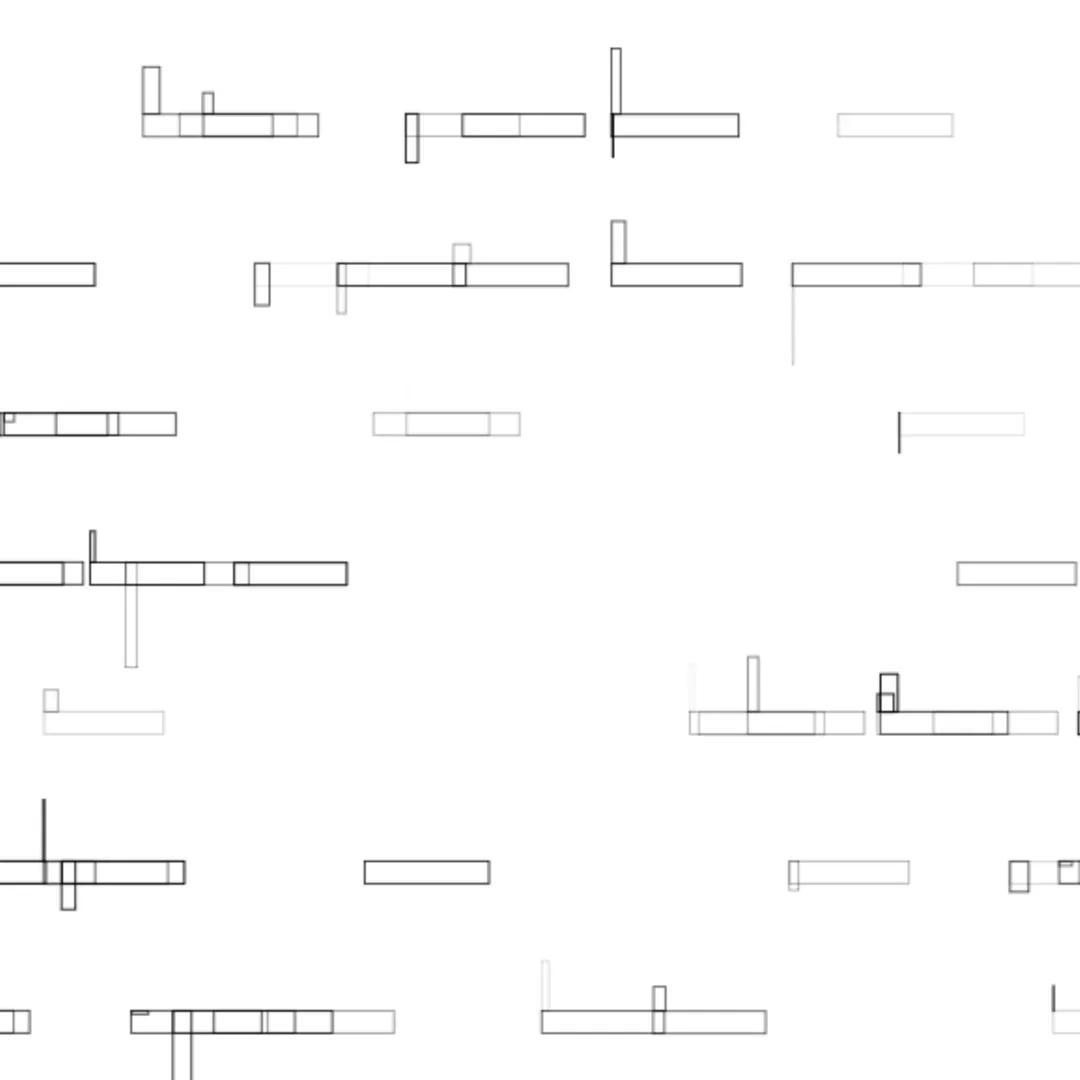
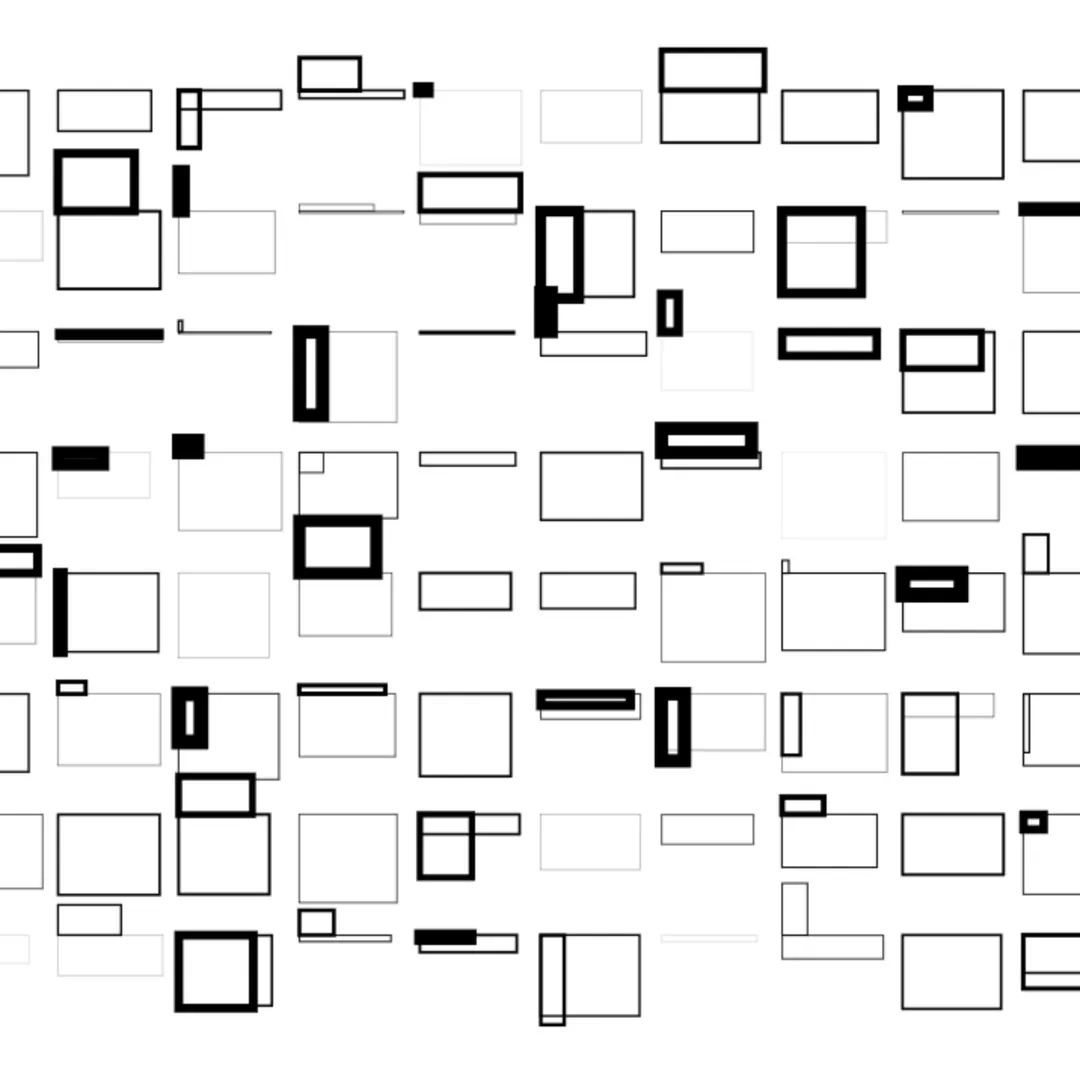
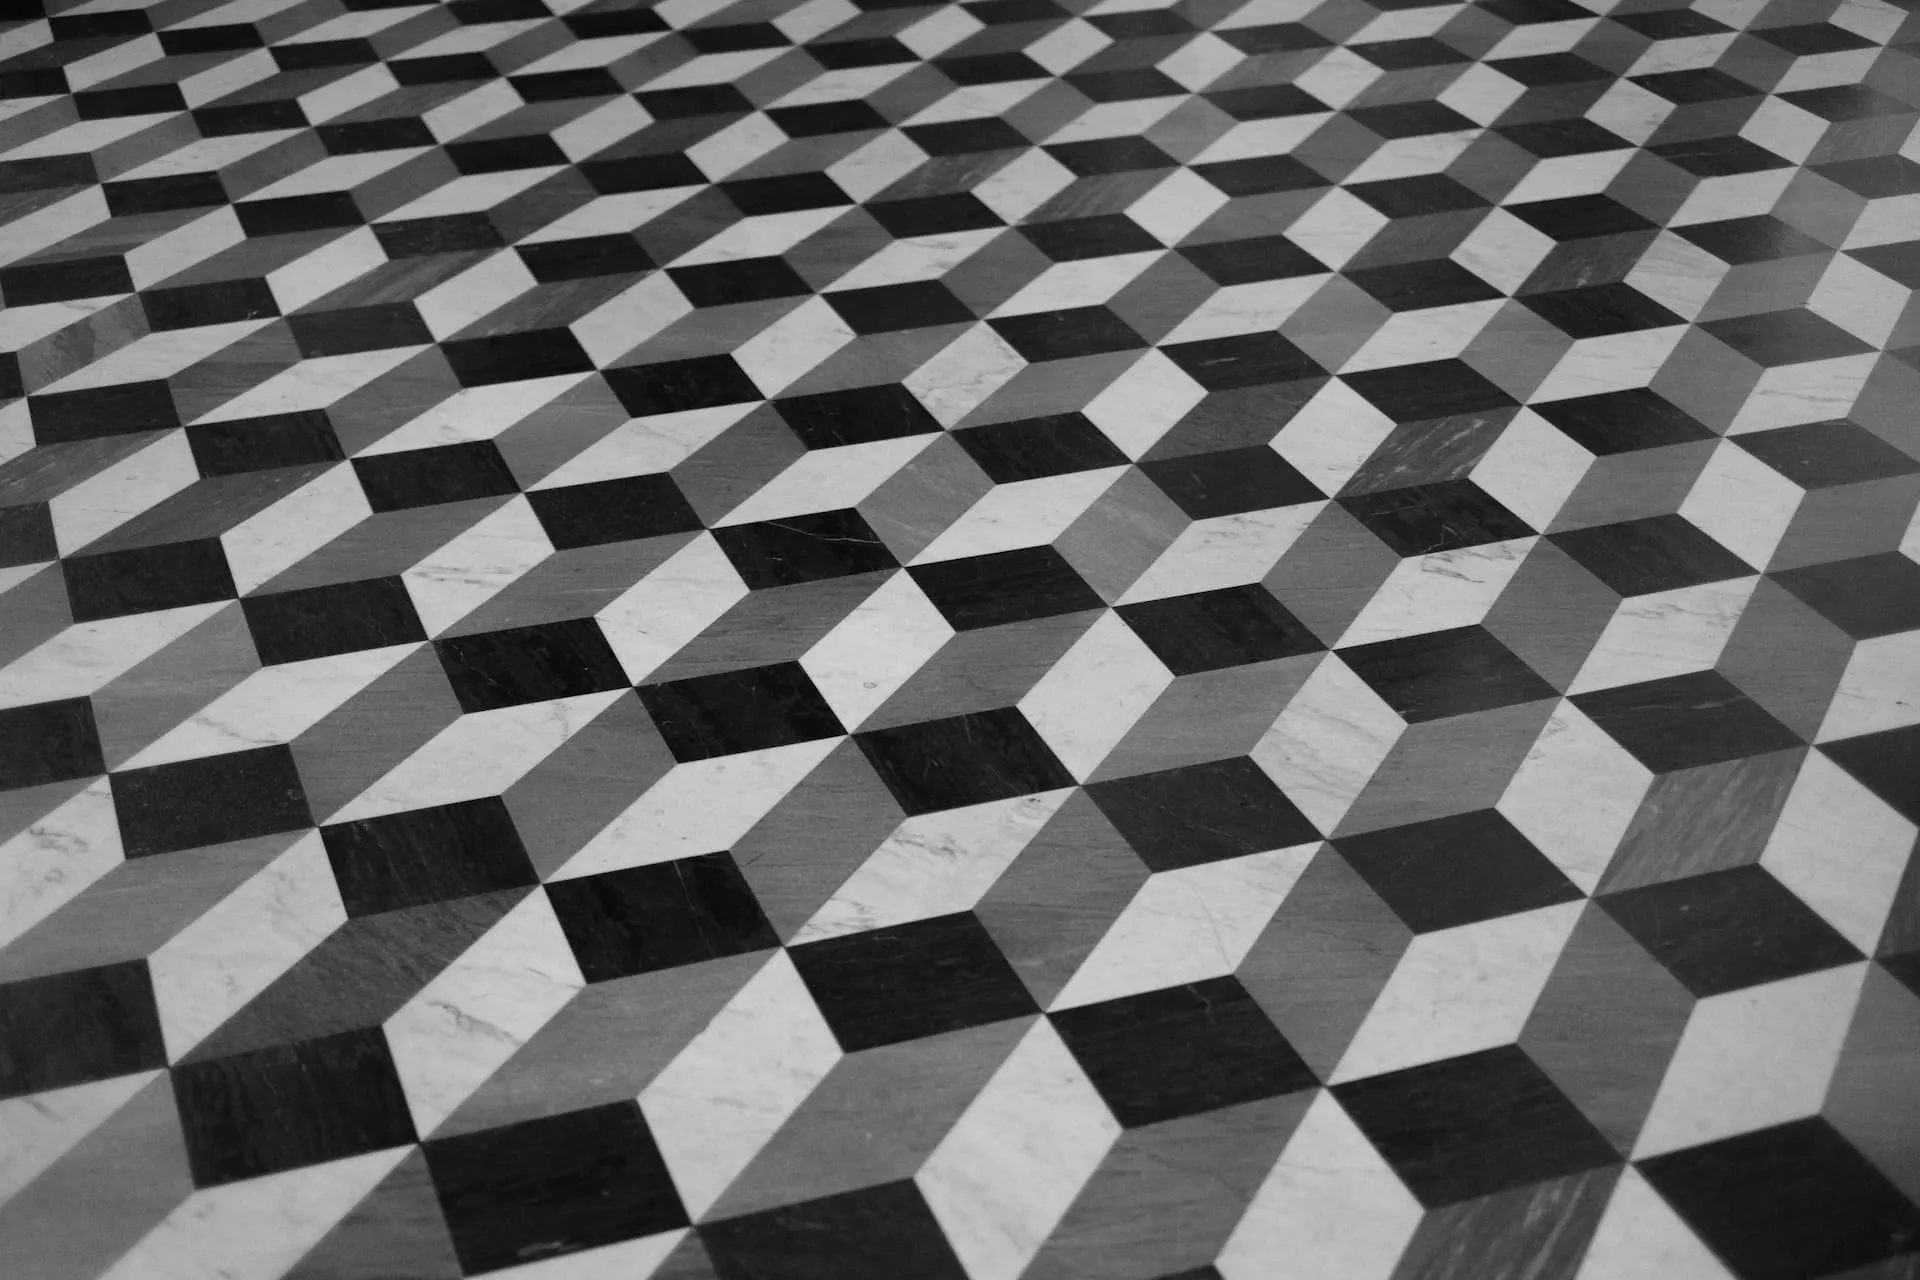
Experiments
A few snapshot of my experiments using the concepts learned here. Shape, position, lineWidth, random value